Wednesday, August 31, 2022

ALTENEW: SEPTEMBER 2022 WINTER MAGIC COLLECTION RELEASE BLOG HOP + GIVEAWAY ($300 in total prizes)


Hello,

I am so happy you joined me today, and if you are playing along on the hop, you should have found your way here from Maryam Perez. You can find more info over on the Altenew Card Blog, and you can shop all the goodies with the links I’ve provided for you down below, THANKS! 


This is one of those cards that I loved all the elements, but, when put together and photographed it, it wasn't what I was hoping for. My circle frame ended up too large.- but, it was staying the way it was. If I did this again, The circle frame would be smaller. 


Well, I ended up pulling this apart and rearranging things yesterday.


I think why I went with the size of frame that I did in the beginning, was because that was the size of circle dies I liked better. But, I think the second card is a better version. I used the Shrub Rose Stamp and Dies along with Itty Bitty Branches Die Set to create the foliage for the side of the circle frame that I created using the Fine Rings Circle Die Set long with another from my stash.  I colored the flowers with the Artist Markers in R302, and G011, using the colorless blender to get a variation on the color. I Gold Heat Embossed the sentiment onto some velum and cut it out with the circle die as well. I dry embossed a piece of white cardstock with the Organic Linen 3D Embossing Folder and adhered that to a white card base with two strips of Gilded Glitter Cardstock on either side of it. Adhered everything to the card and finished with some Satin Gold Sequins.


I created the background for this card by blending Silverstone, Cloudy Sky, and Dark Night Crisp Dye Inks onto a Solar White Panel with Small Blending Brushes, the darkest around the outside. I colored another piece of cardstock with the Cloudy Sky Ink, and cut the snowflakes from the Layered Snowflakes 2 Dies as well as a small one from the Layered Snowflakes Dies. I cut more from white and silver glitter cardstock and adhered them to the outside of the panel. I cut the "wishing" from  Tiny Sentiments: Wishing dies in some Dark Night colored cardstock. Stamped the sub-sentiment on some white cardstock and adhered everything to a white card base that I colored the outer edge with the Dry Night Ink.


I've used the Hawaiian Shores Markers and the Poinsettia & Berries Stamp Set to color the background of this card. I colored with the stamp with the Evergreen pen, - spritzed it with water and then stamped it onto a Solar White panel, then spritzed and stamped it again. (second generation) On a separate piece of cardstock , I stamped the poinsettia layers in Permanent Black, Heart Beat, and Velvet Inks. Then I used a white chalk pencil to lighten up the inside of the leaves and used the Evergreen Pen to color in the flower center. Used the Die to cut it out and adhere it to the card with Instant Dimension Foam Tape. Stamped the sentiment with Obsidian Black Ink.


I made this tag like I made the card, but added stamped berries to the mix.


For the coasters, I was given a wood burning tool almost two years ago, and thought I would try it out. And what better way, than beautiful images like in this set. I stamped the image with permanent black ink, and then used a wood burning tool to enhance the image. If you were lucky enough to get the Circle Of Feathers Stamp Set free, or pay for it (for she’s a beauty!) I made a coaster like the card I created for that set.

This was a fun test of the little wood burning tool I received. I hope you have a fun time completing the rest of the hop. Your next stop is Nathalie DeSousa.

Thanks for Visiting!
Make Today Amazing!

GIVEAWAY

$300 in total prizes! To celebrate this release, Altenew is giving away a $50 gift certificate to 2 lucky winners and a $25 gift certificate to 8 winners! Please leave a comment on the Altenew Card Blog and/or each designer’s blog post on the blog hop list below by 09/06/2022 for a chance to win. 


Altenew will draw 10 random winners from the comments left on each stop of this blog hop and announce the winners on the Altenew Winners Page on 09/07/2022.


FREE GIFT OFFER

Monday, August 22, 2022

ALTENEW: AUGUST 2022 ENDLESS AMBITION RELEASE BLOG HOP + GIVEAWAY 

($300 in total prizes)


Hello! 
You may have found your way here from Michelle Burnier if you are following the blog hop. You can also go back to the beginning over on the Altenew Card Blog.

Shop the release here or shop from the link down below.


I have 4 projects today, and my first starts out by cutting all the pieces parts, except the frame, from the Layered Ornate Frame Die Set from some Solar White Cardstock. I colored them with some Crisp Dye Inks and some Mini Blending Brushes. I blended the Misty Morning and Cloudy Sky Inks around the outer edges of a white card base and cut the frame from Gold Mirror Cardstock and adhered that to the card. Then created a rectangle frame with a Fine Liner Pen. I adhered the flower and leaf layers together and then adhered them to the card. Colored a piece of cardstock with Cloudy Sky and cut the "hello" from the Sweet Sentiments Die Set out twice, adhered them together and then to the card. To finish this one, I added some rhinestones to the flower centers.


I dry embossed the background panel from the Peaceful Poppies 3D Embossing Folder, trimmed it down to fit onto a white card base with a strip of Gilded Glitter Cardstock running down the left side.
I adhered the Monochrome Wide Washi to a piece of white cardstock and cut out the flowers. I adhered it to the card. I cut the "thanks" from the Gilded Glitter Cardstock that has the Double-Sided Adhesive Sheets on the back of, and adhered that to the card. Finally, I adhered some rhinestones to the flower centers.


I created the background by dropping Alcohol Inks and alcohol on the top of the photo paper and then picking it up and using a puffer tool to move the ink down the paper. I used the Sweet Sentiments Hot Foil Plates and the Sweet Sentiments Dies to create the "celebrate" sentiment. I added the sub sentiment from the One-Go Birthday Greetings Stamp and Dies and added both to the panel.


YAY! How cute is this die? The two dies in the Word Balloon Die Set have little balloon tails, so you can make the words seem like they are balloons. But, I chose to cut off the little balloon ends, and easy peasy- just the word remains. I ink blended down the word with crisp dye inks and then used the same inks to blend through the Geo Triangles Stencils onto a white cardstock panel. I cut a couple more "yay's" from black cardstock and adhered them together and then to the panel. Added a sentiment from the One-Go Birthday Greetings Stamp and Die Set which was heat embossed with Crisp White Powder. And after I assembled the card, I added some little details with a white gel pen.


Thanks for the time you spent here with me.
Make Today Amazing!

Your next stop is Jenny Colacicco.

GIVEAWAY

$300 in total prizes! To celebrate this release, Altenew is giving away a $50 gift certificate to 2 lucky winners and a $25 gift certificate to 8 winners! Please leave a comment on the Altenew Card Blog and/or each designer’s blog post on the blog hop list below by 08/28/2022 for a chance to win. 


Altenew will draw 10 random winners from the comments left on each stop of this blog hop and announce the winners on the Altenew Winners Page on 08/29/2022.


Friday, August 12, 2022

ALTENEW: AUGUST 2022 MARVELOUS MONTHLY SERIES BLOG HOP + GIVEAWAY ($300 in total prizes) 


Hello!

What amazing new products, right? If you are playing along in the hop, you should have arrived from Erum Tasneem's blog. And if you would like to go back to the beginning of the hop, you can find that here. Leave a comment down below for your chance to win a gift card to the Altenew shop.


I have 5 card ideas to share with you today using each of the monthly subscription products.


Craft Your Life Project Kit

I stamped and colored the images from the Craft Your Life Project Kit: Magnolia Blooms with Antique Gold Embossing Powder, and Crisp Dye Inks.

The Craft Your Life Kit comes with a 3D Embossing Folder, which makes for a dynamic, textured, easy background, or even the focal point of a card. I added Enamel Dots and the sentiment to finish off this card.


Mini Delight

This Mini Delight: Like A Star set is so fun and makes a cute quick little card. I stamped it with Permanent Black Ink added the inside stamps with Crimson and Velvet Inks, used the die to cut it out and added the sentiment from the Birthday greetings Stamp Set. And lastly, added the balloon tail with a Fine Liner Pen.


Paint-A-Flower

I have tried an older technique that I haven't done in a long time with the Paint-A-Flower: Wood Anemone Set. First I heat embossed the image with Crisp White Embossing Powder not some watercolor cardstock, then used the 36 Pan Watercolor Set to paint it. Then when it was dry I removed the heat embossing with an iron and some typing paper to reveal the white outline.


Build-A-Garden

I love the Build-A-Garden: Daffodil Delight set. I used the coordinating Coloring Stencils to create the background panel for the card with the Pocketful Of Sunshine Crisp Dye Inks. Then I stamped the outline image onto the panel along with the sentiment with some Obsidian Black Ink. I also stamped the outline images onto a white card base in Limestone Crisp Dye Ink.


Craft-A-Flower

It's always fun to die cut all the parts of the Craft-A-Flower out and see what they look like. The Open Peony Set has beautiful pieces that fit together so nicely.  I cut the leaves out of craft foam and made some stamps which I stamped a background panel in Limestone Ink then splattered it with Jet Black Ink Spray. I colored the cut out pieces and adhered them to the panel with some liquid glue, stamped the sentiment from Hello Sunshine, cut out the "you" and a strip for the edge from Gilded Glitter Cardstock and the Craft Your Life Project Kit: Dynamic Blossoms, and assembled the card onto a white card base.


Thank you so much for visiting!
Make Today Amazing!

Your next stop is Annemarie Caister.

GIVEAWAY 

$300 in total prizes! To celebrate this release, Altenew is giving away a $50 gift certificate to 2 lucky winners and a $25 gift certificate to 8 winners! Please leave a comment on the Altenew Card Blog and/or each designer’s blog post on the blog hop list below by 08/18/2022 for a chance to win. Altenew will draw 10 random winners from the comments left on each stop of this blog hop and announce the winners on the Altenew Winners Page on 08/20/2022.


Thursday, August 4, 2022

ALTENEW: AUGUST 2022 BOLD & BEAUTIFUL RELEASE BLOG HOP + GIVEAWAY ($300 in total prizes)


Hello crafters.

Hope you have enjoyed the hop so far. If you are following the hop, you should have found your way from Laurie Patterson. And you can find your way back to the beginning of the hop Here.

If you are loving these products you can shop the Bold & Beautiful Release products Here, or I would appreciate if you shopped the links provided down below.


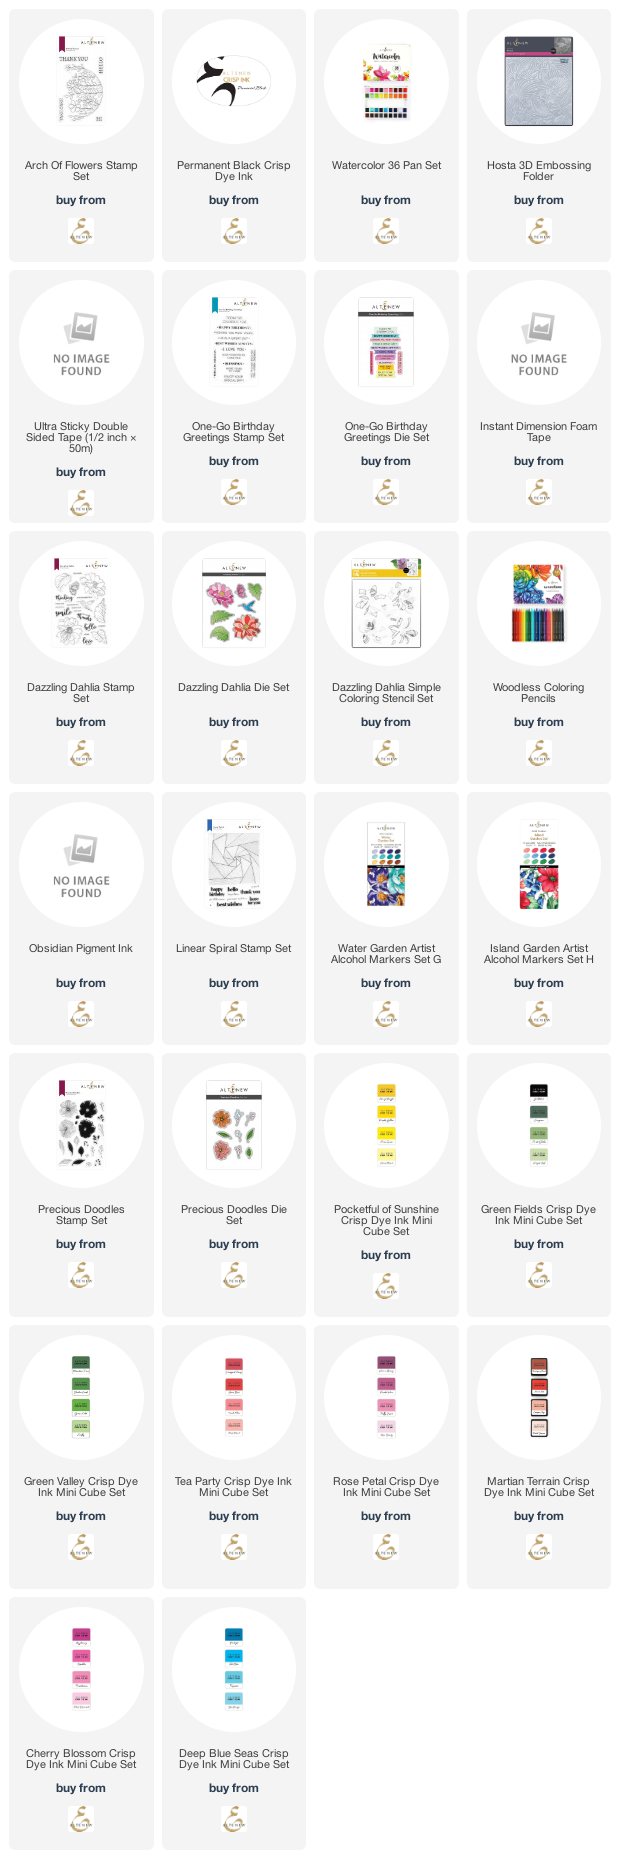
The Arch Of Flowers is such a cute set. I've stamped it onto some watercolor cardstock with Permanent Black Ink on the diagonal on the top right and bottom left corners. I then painted it in with the 36 Pan Watercolor Set and set it aside to dry. I used the Hosta 3D Embossing Folder to dry emboss a white piece of cardstock and adhered it to a white card base with the Ultra Sticky Double-Sided 1/2" Tape. 


I stamped and heat embossed the sentiments with the One-Go Birthday Greetings Stamp Set, and used the coordinating Dies to cut them out. It is one stamp, so, they are stamped and cut all at once so you can have lots of sentiments ready to go when you need them. I adhered the watercolor panel to the card with the Ultra Sticky Tape and then adhered the sentiment with Instant Dimension Foam Tape.


Well if you were able to snag this Dazzling Dahlia Bundle when it was released through the Altenew app early, I bet you cannot wait to make some beautiful things with it as well.

I stamped the images onto some craft colored cardstock, and used some masking paper to layer the images onto my cardstock panel how I wanted the layout to be. I also stamped the hummingbird and one flower onto another piece of craft cardstock. I used the stencils and some white pigment ink to color in the images and then used some Inktense colored pencils and water to color in the images. (Very little water)


When it was dry, I added some dimension with the Woodless Coloring Pencils to all the pretty things. Stamped the sentiment with Obsidian Black Ink. Used the Dies to cut the flower and hummingbird out and adhered them to the panel with Instant Dimension Foam Tape. And then adhered the panel to a white card base with some tape runner.


I was not sure how I wanted to color the Linear Spiral Stamp once I had stamped it with Permanent Black Ink. I finally decided that I wanted to color it with Artist Markers in the colors R801, B001, B003, B526, C005, C007, C015, C006, R826. Cut it down and adhered it to a white card base. I stamped the sentiment on another piece of white cardstock, cut it out and adhered it to the card with Instant Dimension Foam Tape.


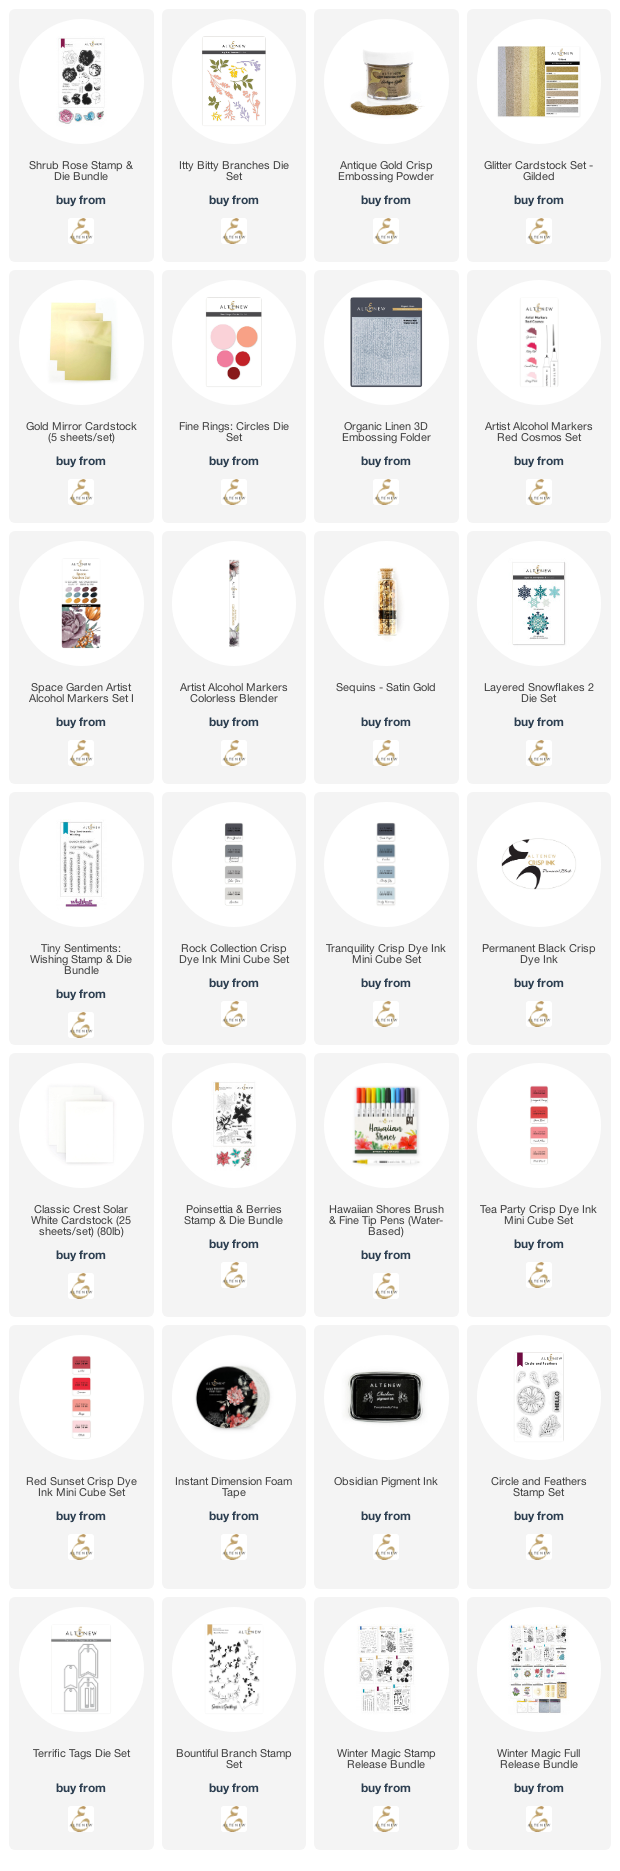
For my final card, I have a piece of paper from the Celebrate 6 x 6 Paper Pack that I wanted to use, but if I cut it down, I would lose all that I wanted to still have on the paper. So, I created something similar with the 36 Pan Watercolor Set and a piece of watercolor cardstock. I stamped the outline layers of the flowers and leaves from the Precious Doodles Stamp Set in Permanent Black Ink on another piece of watercolor cardstock. Then using the solid layers, I stamped them in watercolor fashion with crisp dye inks, then spritzing with water on the outline layer.


I cut them out with the Dies and then stamped the other images around where I planned on adhering the flowers on the watercolored background. I used Citrus Burst, Frayed Leaf, Mountain Pine, Pink Pearl, Canyon Clay, Pink Quartz, Coral Bliss, Pinkalicious, and Turquoise Crisp Dye Inks. I deepend up the flowers and leaves with some Artist Markers in C004, Y207, R400, R301, R502, and R504. Adhered the flowers and leaves as well as another sentiment from the One-Go Birthday Greetings with Instant Dimension Foam Tape, and then adhered it to a white card base that I've colored the outer edges with Mountain Pine Crisp Dye Ink.


Thank you for visiting!
Make Today Amazing!

Your next stop is Reiko Tsuchida***Note: Due to strict regulations in Japan, you might not be able to leave a comment on her blog post.

Free Gift Offer


GIVEAWAY

$300 in total prizes! To celebrate this release, Altenew is giving away a $50 gift certificate to 2 lucky winners and a $25 gift certificate to 8 winners! Please leave a comment on the Altenew Card Blog and/or each designer’s blog post on the blog hop list below by 08/10/2022 for a chance to win. 


Altenew will draw 10 winners randomly from the comments left on each stop of this blog hop and announce the winners on the Altenew Winners Page on 08/11/2022.


adding pinterest script 3. Changing the Position of the Pin it! button The cool thing about this code is that you have some freedom over where the Pinterest button for Blogger will go over the image. Take a look at the code that you just copied and pasted into the HTML for the word 'center'.