ALTENEW: JUNE 2022 FINE AND DANDY COLLECTION BLOG HOP + GIVEAWAY
($300 in total prizes)
.jpg)
Hi everyone!
Hope you are having fun if you are participating in the hop. You should have come from Laurie Willison, Amazing, right? You can find the beginning of the hop here if you wish to go back.
There are some great new products, and I'm sharing some cards that I made with some of the products in this release.

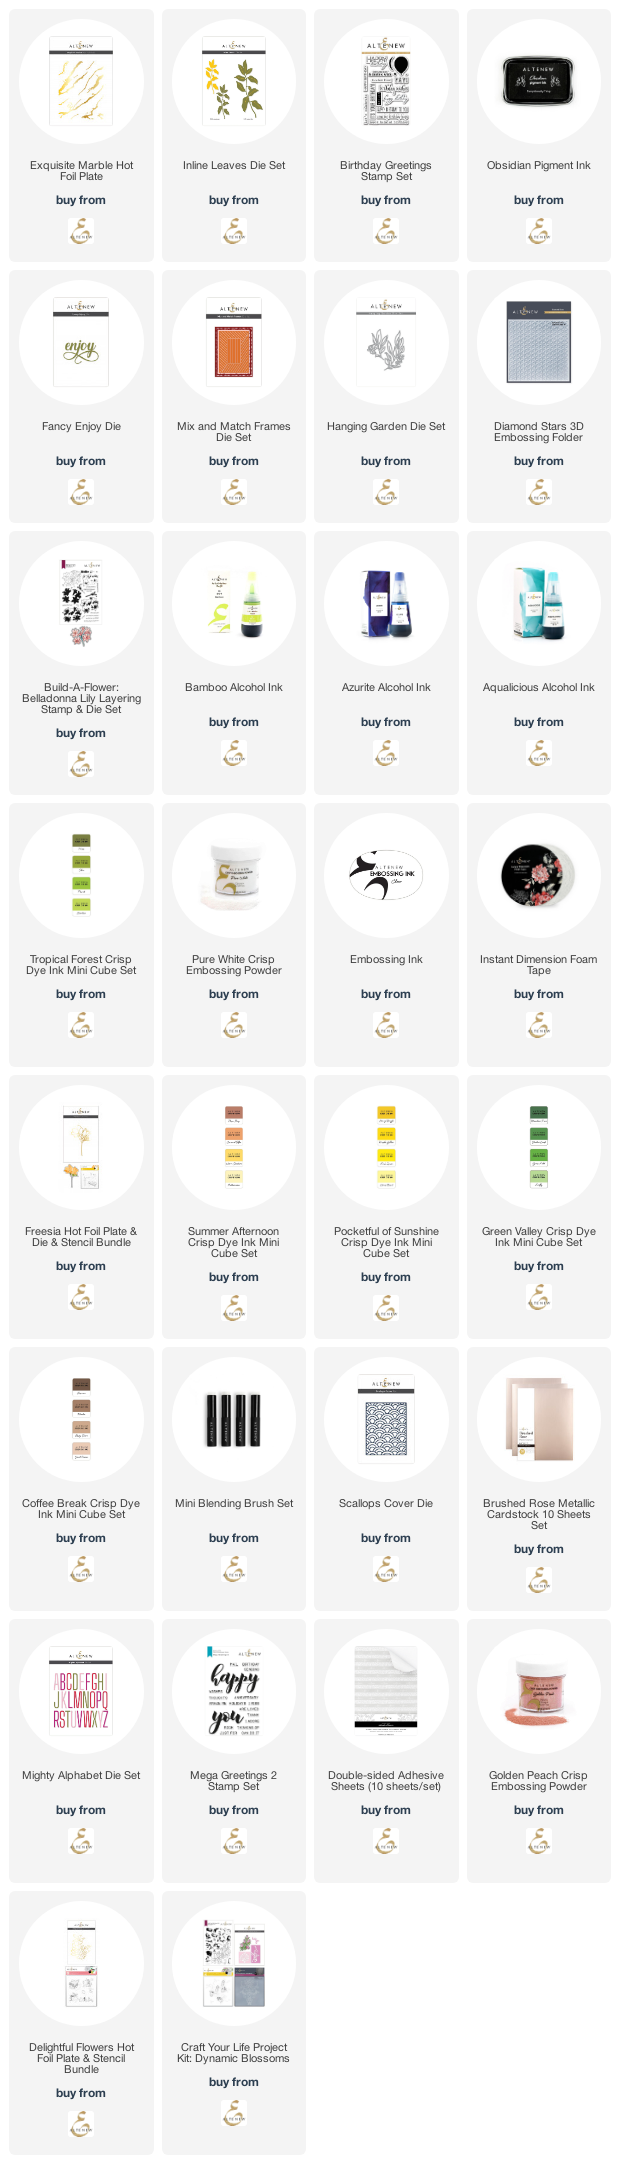
Exquisite Marble Hot Foil Die
Inline Leaves Die Set
Birthday Greetings Stamp Set
Obsidian Black Ink


Fancy Enjoy Die
Mix and Match Frames Die Set
Hanging Garden Die Set
Diamond Stars 3D Embossing Folder
Build- A- Flower: Belladonna Lily
Artist Marker Refills
Bamboo Crisp Dye Ink
Pure White Crisp Embossing Powder
Embossing Ink
Instant Dimension Foam Tape

I used the Artist Marker refills to color a piece of photo paper. If I were to guess on the colors, they would be- Bamboo, Azurite, and Aqualicious (I failed to record the colors) I rubbed Bamboo Crisp Dye ink over a piece of cardstock big enough to cut the Fancy Enjoy Die from, let it dry and cut it out, along with one in white. Cut out the Hanging Garden Die from black cardstock and adhered it to the alcohol ink panel then used some scissors to cut it out. I embossed a white panel with the Diamond Stars Folder, Cut a frame from some black cardstock and layered everything up on a white card base. Stamped the sentiment with embossing ink on black cardstock and white heat embossed it. Used the Foam Tape to pop up the Frame and sentiment.


Freesia Hot Foil Plate
Freesia Die
Freesia Simple Coloring Stencil
Fancy Enjoy Die
Buttercream Crisp Dye Ink
Citrus Burst Crisp Dye Ink
Grass Field Crisp Dye Ink
Espresso Crisp Dye Ink
Mini Blending Brushes
Instant Dimension Foam Tape


Products Used:
Scallops Cover er Die
Brushed Rose Metallic Cardstock
Mighty Alphabet Dies
Mega Greetings 2
Double Sided Adhesive Sheets
Golden Peach Crisp Embossing Powder
Embossing Ink


Delightful Flowers Hot Foil Plate
Craft Your Life Project Kit: Dynamic Blossoms (Dies)
Brushed Rose Metallic Cardstock
Instant Dimension Foam Tape
Golden Peach Crisp Embossing Powder
Embossing Ink
 I hot foiled the Delightful Flowers plate onto the Brushed Rose Cardstock. And can I say BEAUTIFUL! sometimes the cardstock that is used is tricky to get it to foil well, but this was amazing. I cut the "you" three times from some gray cardstock and adhered them together with some liquid glue, and then to the panel. Stamped and heat embossed the sentiment and adhered that to the panel with the Foam Tape and then adhered the panel to a gray card base. Easy Peasy!
That's finally all, Thanks for visiting!
You can shop this collection and all the other wonderful supplies here.
Make Today Amazing!

Next up is Emily Midgett for more fabulous examples.
GIVEAWAY
$300 in total prizes! To celebrate this release, Altenew is giving away a $50 gift certificate to 2 lucky winners and a $25 gift certificate to 8 winners! Please leave a comment on the Altenew Card Blog and/or each designer’s blog post on the blog hop list below by 06/27/2022 for a chance to win.
Altenew will draw 10 random winners from the comments left on each stop of this blog hop and announce the winners on the Altenew Winners Page on 06/29/2022.
I am so excited over the cardstock and new foiling plates. TFS all the inspiration.
ReplyDeleteMarisela Delgado said: So gorgeous especially the purple card! mariandmonsterd@yahoo.com
ReplyDeletesimply amazing cards. Loving the foiling stamps and the lovely shiny card
ReplyDeleteAll so beautiful. I really like the first card with the leaf. You have created an amazing stain glass window look- so elegant.
ReplyDeleteSuch nice cards! I especially like the second Enjoy card with the purple background. The combination of the purple background with the yellow flower is unique and so pretty.
ReplyDeleteGreat cards
ReplyDeleteBeautiful job.... loving the metallic cardstock... tyfs :)
ReplyDeleteGorgeous cards! Such a great release.
ReplyDeleteThanks for sharing.
Love the scallop card. The brushed rose is beautiful with the black scallop die. Thanks for sharing
ReplyDeleteGreat cards. I love the color combinations.
ReplyDeleteHello nice blog.
ReplyDelete